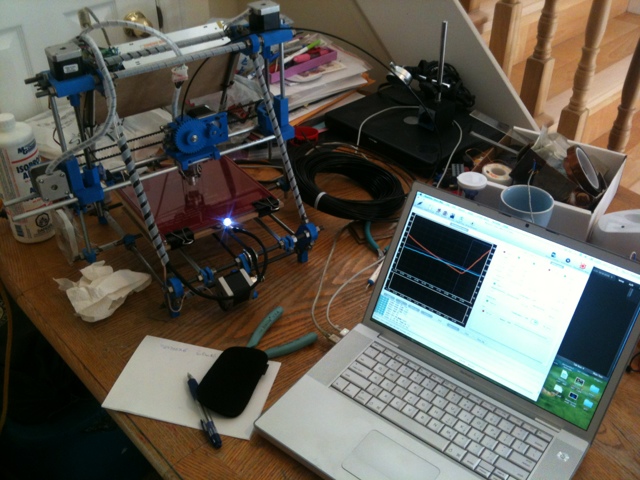
Well, I picked up the pieces for a Prusa 3D printer last year (as documented on this blog somewhere) and quickly built up the frame. I sourced the bits and pieces from all over which meant that some of it wasn’t a bit of a head scratcher to put together. In particular, the hot-end from Arcol was not designed for the carriage that I had. There just wasn’t any way to bolt it together. After pondering it for a while, I ended up cutting out an adapter plate at the end of last summer. That was the last that I worked on it.
I had my doubts about the machine mechanically. It is virtually impossible to get everything aligned. I wanted it to be strong and exact just like my Taig CNC machine, but I just couldn’t get it perfect. So I put it on the shelf and tried to ignore it. It teased me whenever I saw it sitting there all dusty though. I still wanted a 3D printer. And my kids never let me forget that they wanted custom Lego.
When designing that robot arm back in February it was very apparent that a 3D printer would have made the design much easier than having to stick a bunch of sintra piece together. Around the same time I ran across a 3D printer project called the Makibox. It was in the prototyping stage and being funded through a website called Makible. The form factor was interesting and it looks like aligning it would be much easier mechanically.
Given the interest that my kids had in the machine, the Makibox looked perfect for something that they could use and possibly even be able to bring to school. So I ponied up the $350 for it and sat back to wait.
And then the Prusa started to haunt me. How the heck could I justify buying a second printer without having the first one working? So I dug it out and over the last week I finished putting it all together. After a bit of time tweaking, it looks like mechanically close enough on the frame was not a problem really. Once I leveled the bed against the extruder carriage it seems to be good enough. And besides, what is a fraction of a millimeter between friends anyhow. 😉
I ran across Repetier for the firmware as well as the interface on the PC. It is frikkin’ awesome. It lets you place your 3D model on your build-plate on the PC, rotate/move/etc.., turns it into gcode, and then print. Aside from the actual 3D modeling, its an all-in-one solution. So much nicer than the alternatives.
Anyhow, finally last night I had everything tweaked and tuned to the point where I could start extruding.
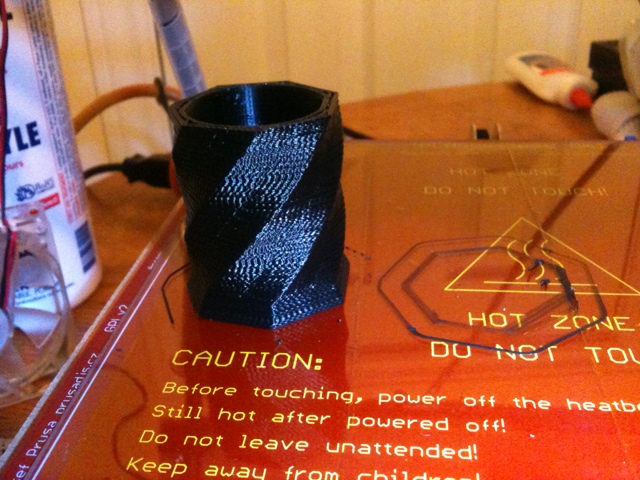
After a few aborted attempts of trying to print directly on my heated glass, I ended up covering the glass with kapton tape and got it to print out a shot glass! The tradition is to drink from the first successful print.
It wasn’t until I had almost finished the print that I noticed the fine print that I should be using an infill of 100% instead of the 40% that I had set it to. 😉 Turns out the bottom of my glass has very small pinholes. Ah well, I drank fast and only spilled about half of it. Success!
Looks like my X axis still has some tweaks to do though. When the carriage moves from left to right there was quite a bit of jitter. I think that it is due to the belt so I’m going to tighten that sucker up and keep on rolling.


2 Responses to The Reprap Prusa 3D printer lives! Finally. ;-)