
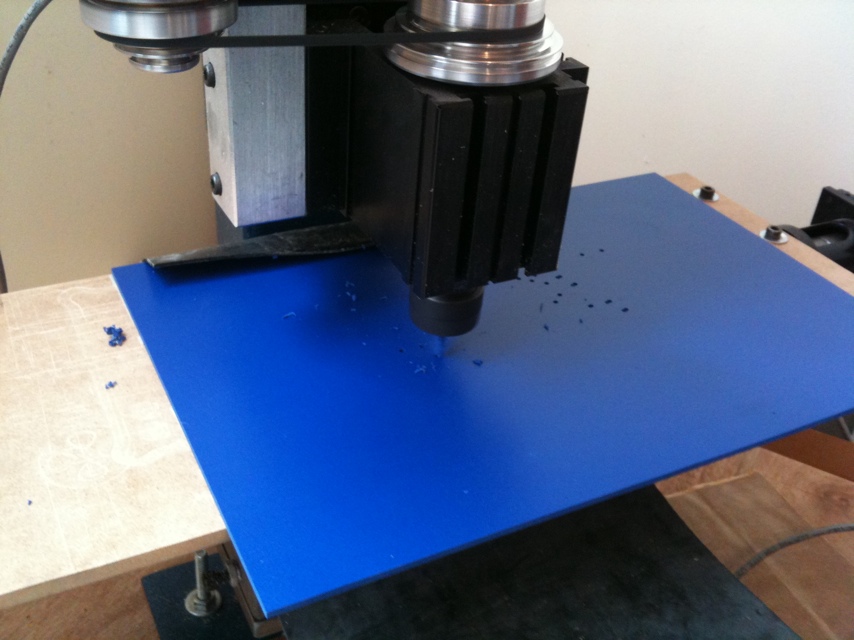
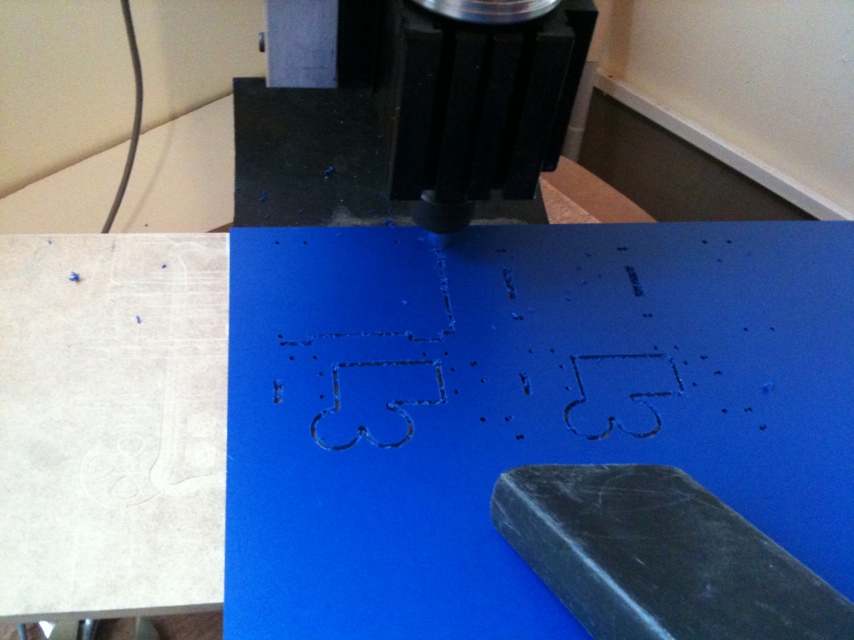
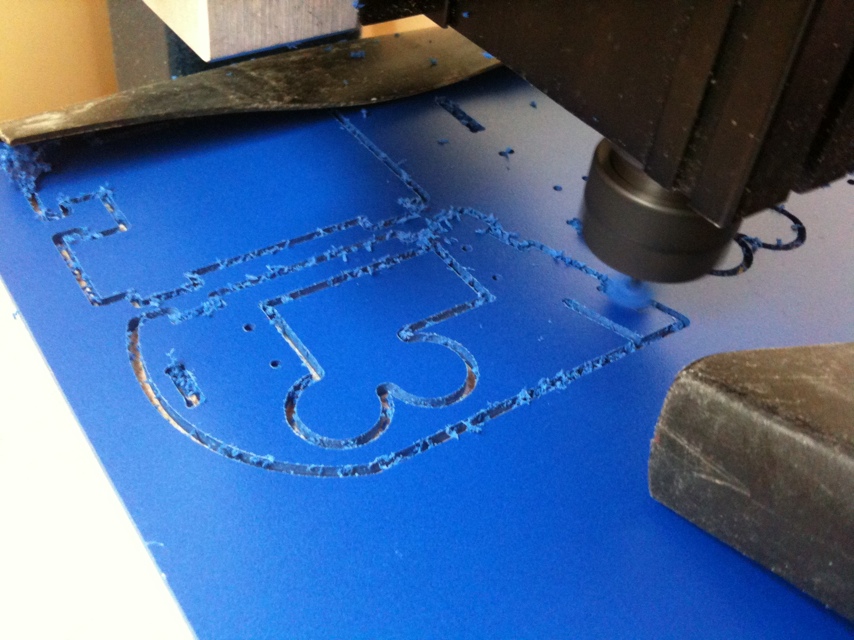
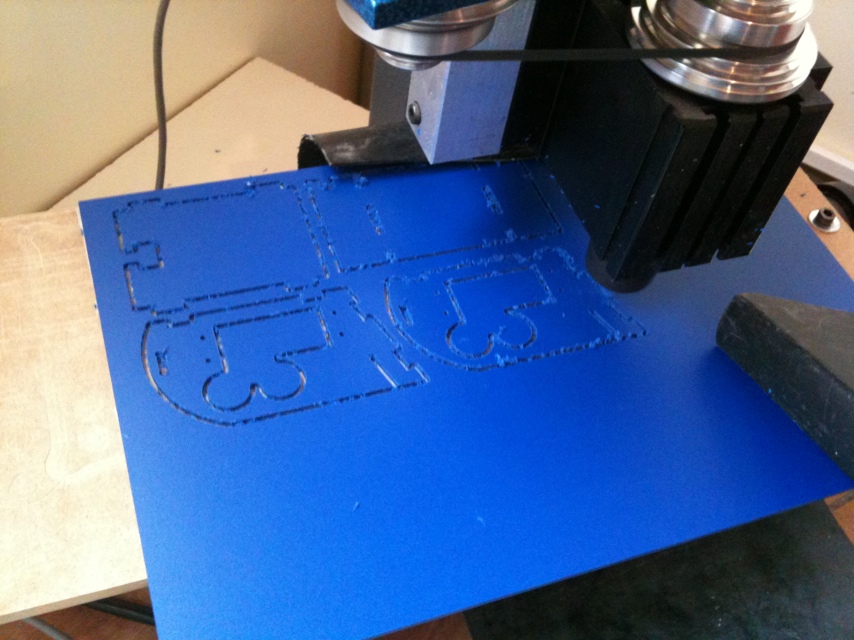
Made some updates to the SumoORE chassis today. I moved the front blade out flush at the front, shaved a bit off the back, cut some openings at the back for the rear IR. Instead of black like the first chassis, I decided to make it from blue this time.
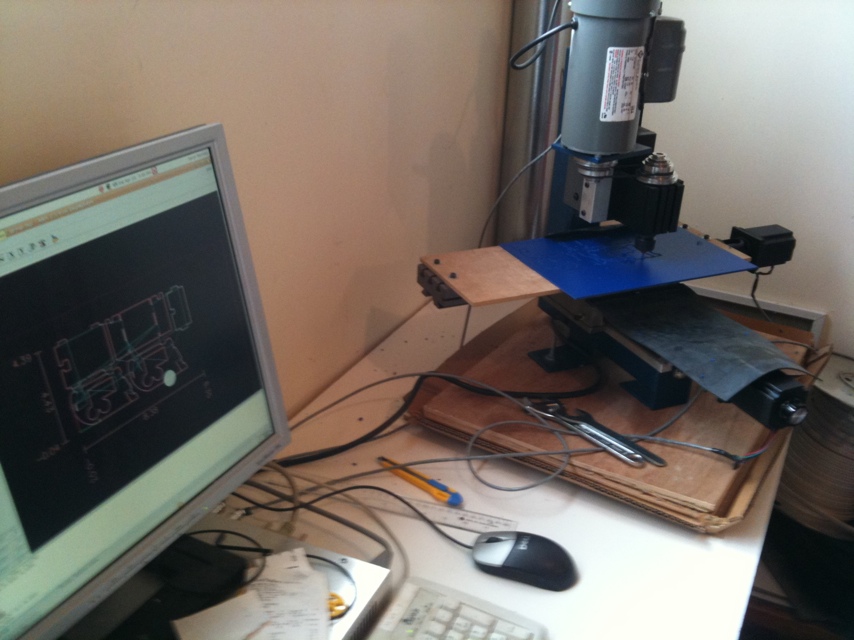
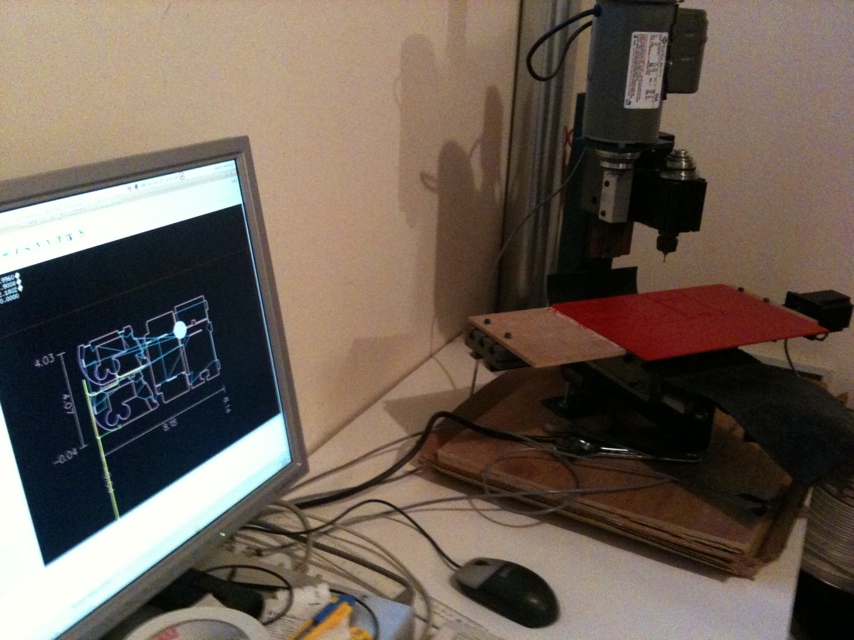
I’m using a 2mm bit and running at around 15ipm. I hold the sintra down with carpet tape and it works pretty well. If I cut too hard on the sintra though, it tends to lift a bit sometimes so I cut slow and steady instead… 2 passes. The machine is a Taig with Xylotex drivers and 269oz-in steppers. Nothing fancy, but gets the job done.
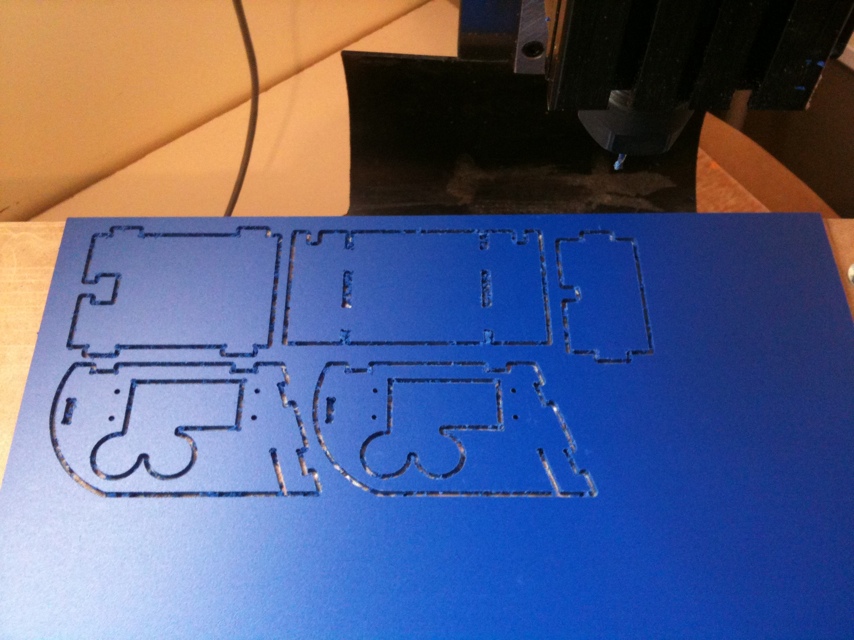
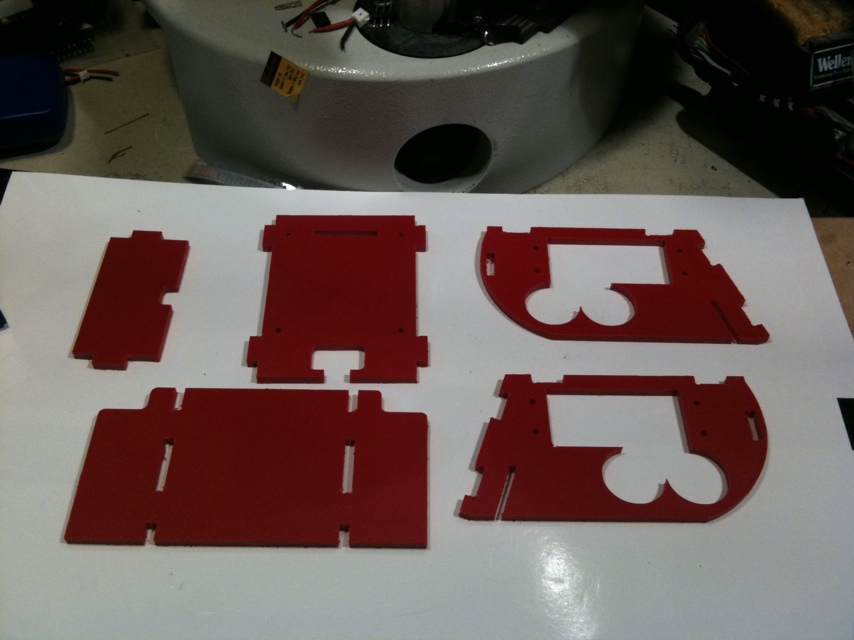
Final pieces.
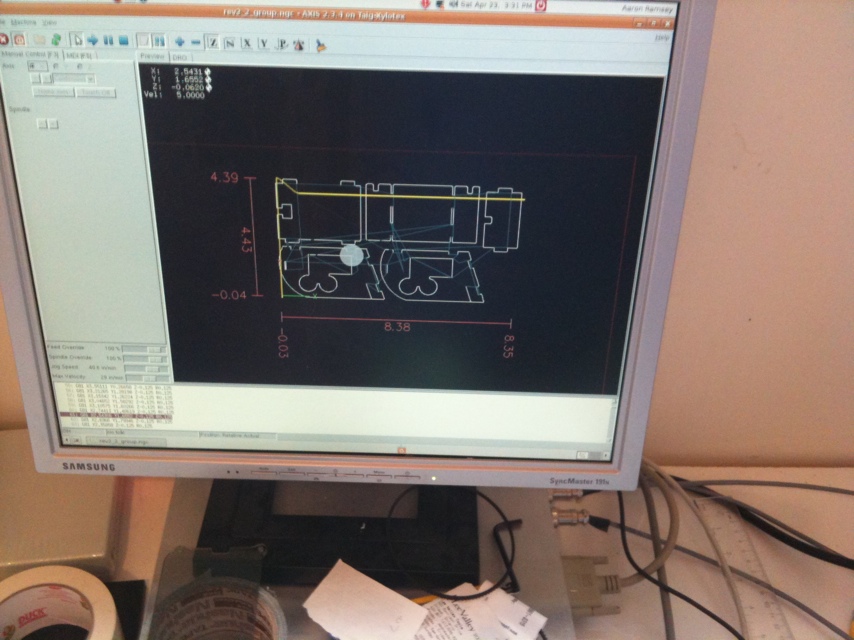
And just in case you aren’t sick of look at my cutting the panels, here is a quick video showing the cut in progress :Â 20110423-091812.mov
After test fitting the new chassis, realized I still had some tweaks to do. The back was still slightly hitting when the robot was tilted backwards, the front IR slots in the blade weren’t large enough and the back IR opening was too big. I also needed to add mounting holes for the PCB and the cable that runs down to the ground sensors.
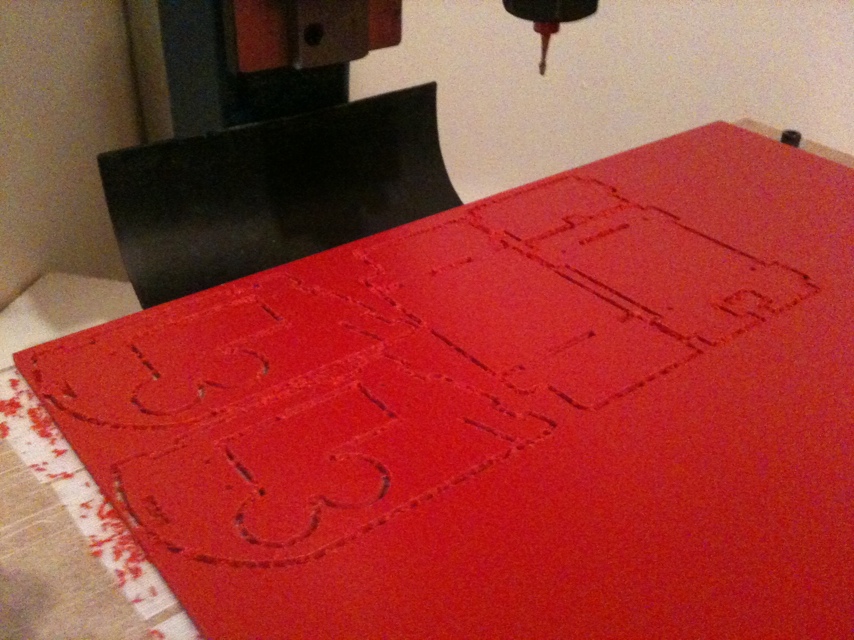
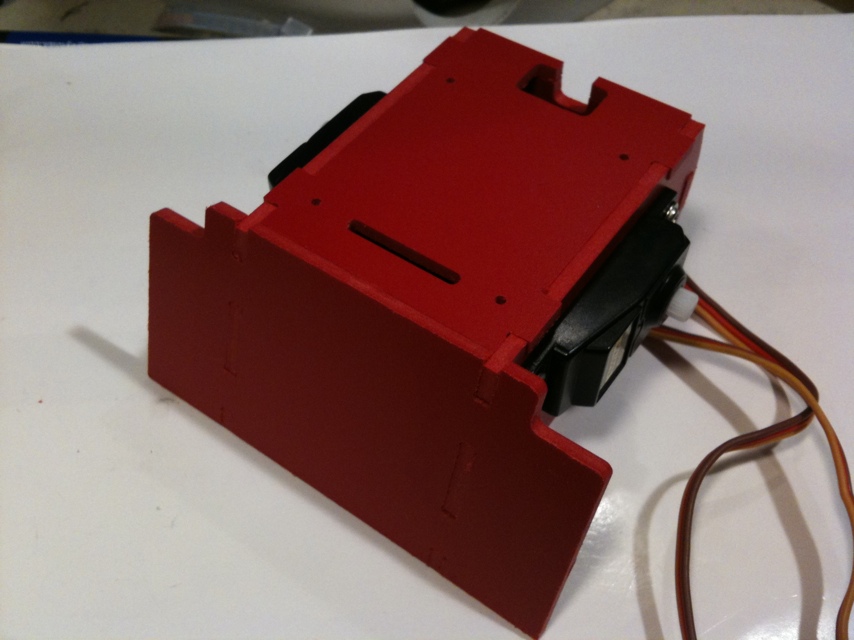
Just to keep it interesting, I cut a new chassis in red instead of blue.
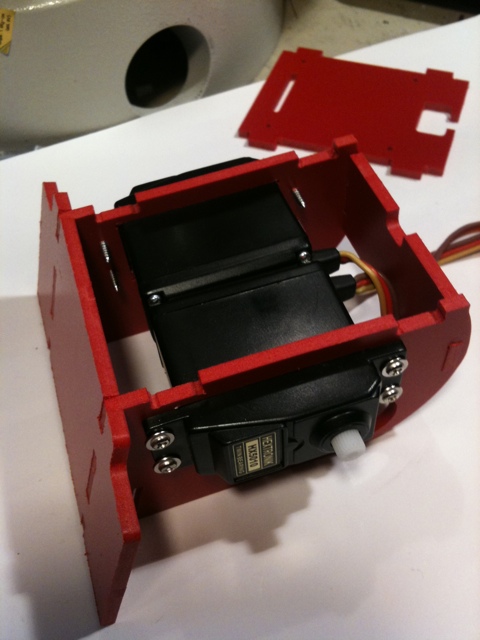
Starting to assemble the chassis. Fits nice and snug.
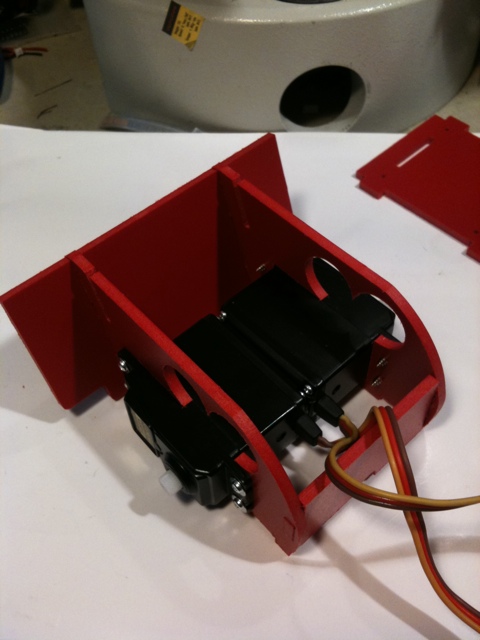
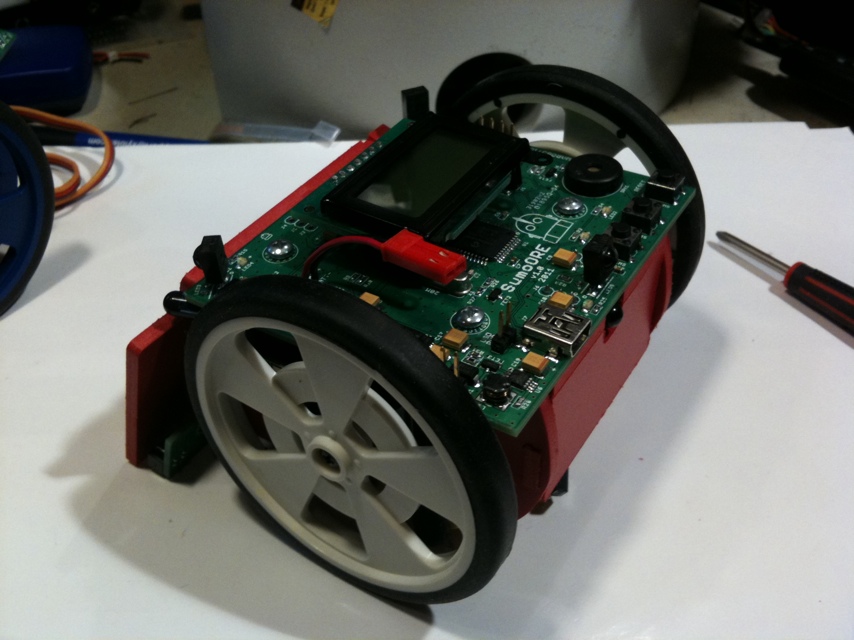
With the top on, the chassis is nice and stiff. I’ll be using double-sided sticky tape between the ends of the servos at some point, but not just yet.
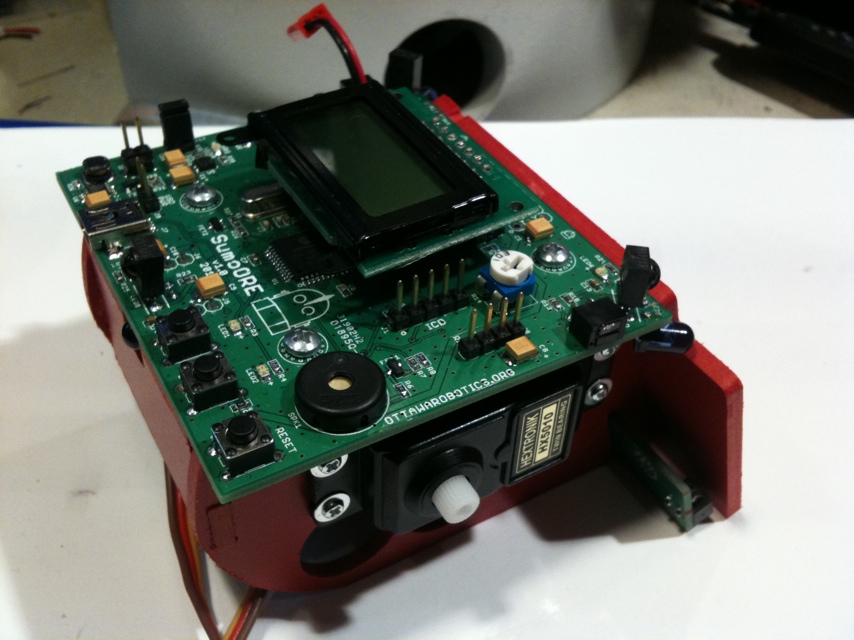
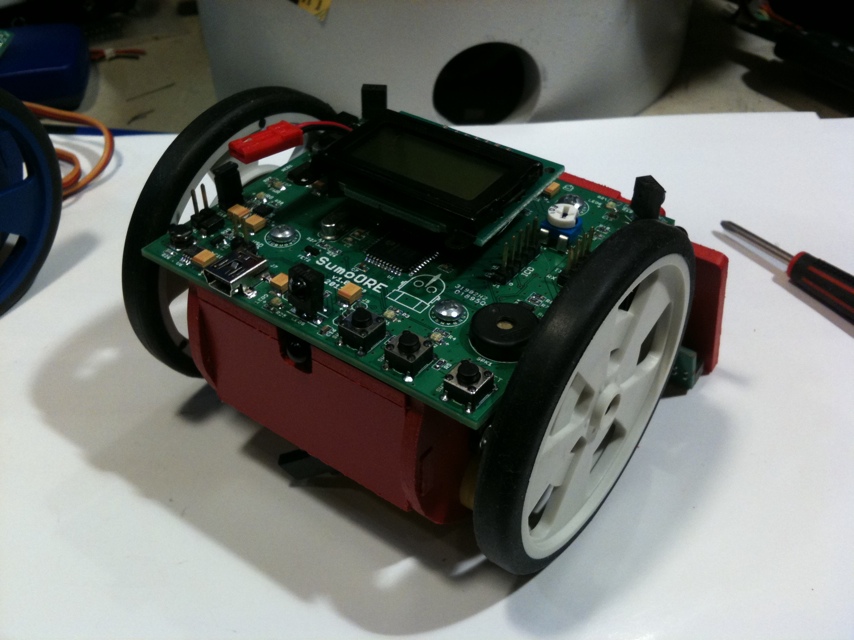
The PCB bolts right on. I love it when a plan comes together!
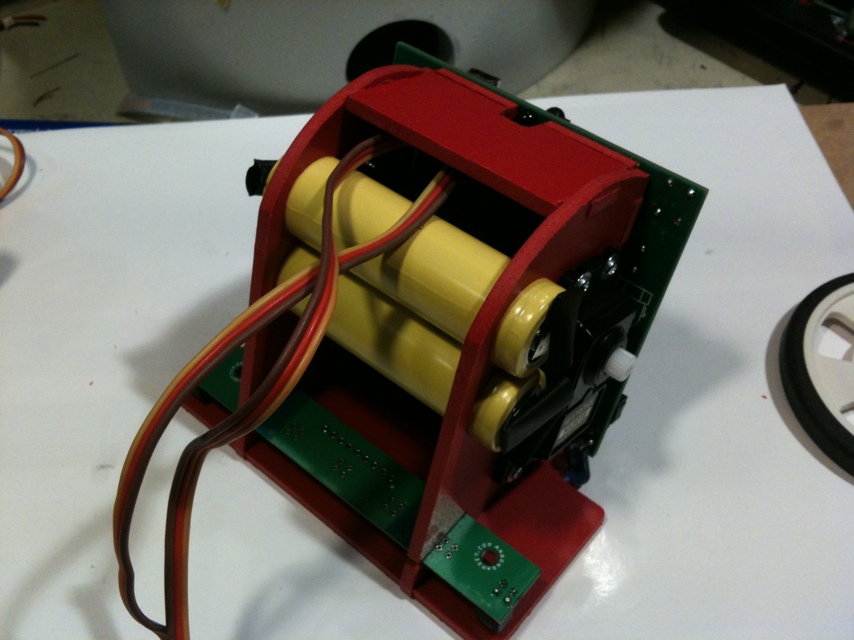
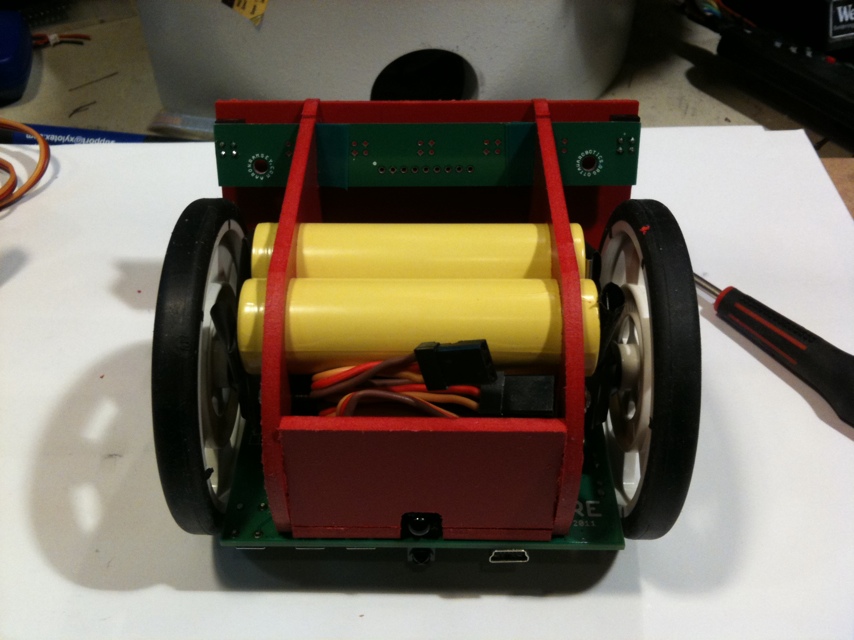
A quick pick showing how the batteries will mount, as well as the ground sensor PCB mounting. You can see in this pic that the back plate needs to be shortened up a wee bit still. I guess there will be a 4th rev of some of the panels.
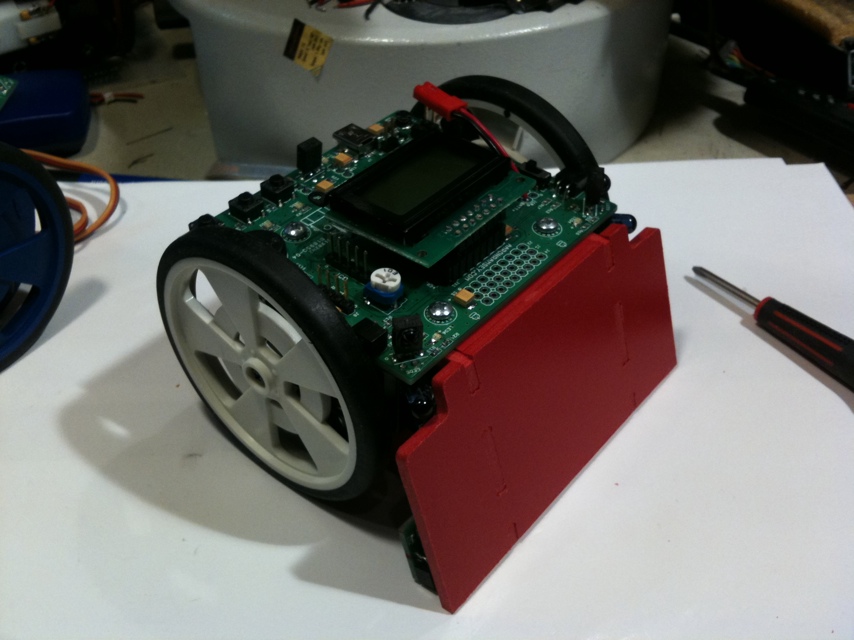
Ready to run! Well… except for I haven’t soldered the battery pack together or shortened the servo cables so they fit in there.

2 Responses to Back to the SumoORE chassis